Kitchen Refresh: Affordable Ways to Make It Look New Again
Kitchen Refresh: Affordable Ways to Make It Look New Again by – Showcase handyman-powered facelift tips (painting, replacing handles, sealing gaps).
www.handyman.sg
12/18/2025

Revitalize Your Cabinets with a Fresh Coat of Paint
The kitchen cabinets often serve as the focal point of the cooking space, and giving them a fresh coat of paint can substantially transform their appearance and, by extension, the entire kitchen. Before starting this rejuvenating project, it is vital to select the appropriate type of paint and tools. Water-based acrylic paints are generally recommended for kitchen cabinets due to their durability and ease of cleaning. Additionally, high-quality brushes and rollers can facilitate an even application of paint, ensuring a professional finish.
Preparing the cabinet surfaces is crucial for a successful paint job. Begin by removing all hardware such as handles and knobs. Next, clean the cabinets thoroughly with a degreasing solution to eliminate any oils or residues. Sanding the surfaces lightly helps the paint adhere better. In cases where the cabinets have a glossy finish, the importance of this initial preparation cannot be overstated. Once the surfaces are clean and smooth, applying a primer can further enhance paint adherence and durability.
The process of painting begins with a well-ventilated area and the application of primer if required. After primer dries, it's time to apply the chosen paint. Use long, even strokes to avoid a streaky finish, and allow for adequate drying time between coats. Depending on the desired colour coverage, two to three coats may be necessary. Once completely dry, reinstall the cabinet hardware for a polished look.
In terms of colour trends, neutral shades such as whites, greys, and beiges offer timeless elegance, while bolder colours like navy blue or forest green can create a statement. Darker colours can indeed make a kitchen feel cozier, while lighter hues tend to open up a space, creating an airy ambiance. Ultimately, the colour choice should reflect personal style while considering how it alters the perception of space in the kitchen.
Upgrade Hardware for Instant Gratification
One of the most impactful and budget-friendly ways to refresh a kitchen is to upgrade the cabinet hardware. Replacing old cabinet handles and knobs can dramatically transform the overall aesthetic, offering an instant facelift. A wide variety of styles and finishes are available, ensuring that there is something to suit every kitchen design, from sleek modern lines to rustic vintage charm.
When selecting new hardware, consider the existing design elements of your kitchen. For a contemporary look, opt for streamlined metal finishes such as brushed nickel or matte black. These sleek options provide a minimalist appeal and work well with various cabinetry colours. Conversely, if your kitchen boasts a more traditional or farmhouse vibe, you may want to explore decorative options, such as antique brass or ceramic knobs that contribute character and visual interest.
In addition to style, the size and shape of your hardware should be compatible with your cabinets. Ensure that the new handles and knobs are proportional and comfortable to grip. If you are replacing existing hardware, it is essential to measure the distance between screw holes to ensure a proper fit and avoid additional drilling.
The installation process for upgrading cabinet hardware is straightforward and accessible to anyone willing to undertake a DIY project. Begin by removing the old handles or knobs, taking care to keep screws in a safe place. Then, use a level and measuring tape to mark the appropriate placement for the new hardware. Finally, secure the new pieces in place, and your kitchen will feel revitalized with minimal effort and expense.
Incorporating fresh cabinet hardware is an effective way to breathe new life into your kitchen while reflecting your personal style. It offers an opportunity to enhance the overall look of the space, proving that small updates can yield significant results.
Seal the Gaps: Enhance Functionality and Aesthetics
To achieve a fresh and polished look in your kitchen, one essential task often overlooked is sealing gaps around cabinets and countertops. These small crevices can detract from the overall appearance and functionality of the space. By sealing these gaps, you not only enhance the aesthetic appeal but also improve the kitchen's efficiency by preventing the accumulation of dirt, debris, and moisture, which can trap bacteria and lead to potential health hazards.
Start by identifying areas that require attention. Common locations include the edges of countertops, the base of cabinets, and around any plumbing fixtures. Inspect these spots closely; any visible gaps should be addressed promptly. By doing this initial assessment, you set the stage for a well-maintained kitchen that reflects care and attention to detail.
Next, choosing the right materials is crucial. For sealing gaps, high-quality caulking or silicone sealants are recommended due to their durability and flexibility. They also come in various colours to match your kitchen's existing decor. Before application, ensure that the surfaces are clean and dry. This preparation is vital for effective adhesion and long-lasting results.
When applying the sealant, use a caulking gun to evenly distribute the material. Apply a steady bead along the gap, ensuring it is filled adequately. A wet finger or a specialized smoothing tool can be used to smooth out the line, creating a professional finish. If needed, allow the sealant to cure fully before using the kitchen to ensure optimal performance.
By sealing gaps in your kitchen, you not only enhance its visual appeal but also contribute to a cleaner, more efficient cooking environment. This simple yet effective task can significantly enhance the functionality of your kitchen space, making it a more enjoyable place to work and gather. Regular maintenance of these areas will keep your kitchen looking new for years to come.
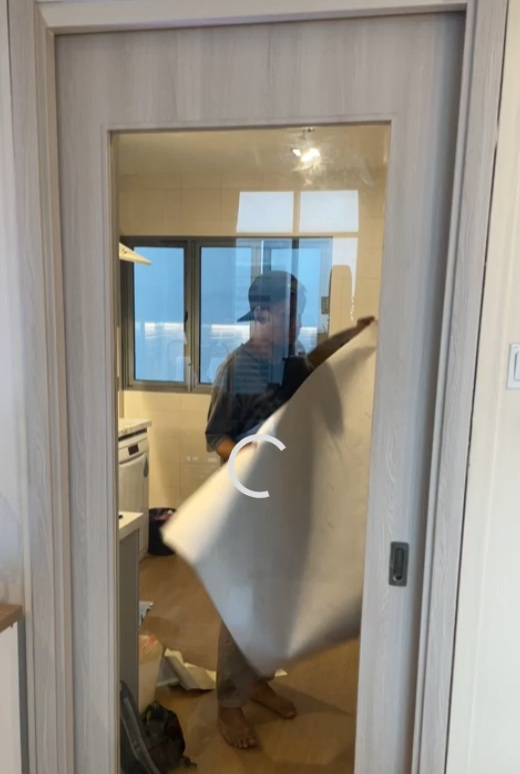
Creative Cabinet Wrapping: The Vinyl Sticker Solution
Renovating your kitchen does not always require a complete overhaul or a hefty budget. One innovative and affordable solution is the use of vinyl stickers to wrap your kitchen cabinets. This versatile approach not only allows you to achieve a fresh and modern appearance but also offers several significant benefits. Vinyl wrapping is cost-effective compared to traditional painting or refinishing, making it an appealing option for those looking for budget-friendly home improvement methods. Additionally, the application process is relatively simple, enabling homeowners to undertake the project without needing professional assistance.
When selecting high-quality vinyl wraps, it is crucial to consider factors such as durability, adhesive strength, and ease of cleaning. Opt for products specifically designed for kitchen use, as these will withstand moisture and stains better than standard options. Before applying the stickers, proper preparation is paramount. This involves cleaning the cabinet surfaces to remove dirt and grease, allowing the vinyl to adhere effectively. For an even better result, ensure that the surfaces are dry and smooth. You might also want to sand any uneven spots prior to application for an optimal finish.
To apply the vinyl stickers, start by measuring and cutting the material to fit your cabinet doors precisely. Peel away the backing gradually while firmly pressing the sticker onto the surface from the centre outward. Use a squeegee or a credit card to eliminate air bubbles and ensure a smooth application. Once the cabinets are dressed in your chosen design, maintaining the new look is relatively straightforward. Regular cleaning with a damp cloth will help preserve the appearance. In case you decide to change the design later or wish to revert to the original cabinetry, removing the vinyl wraps is typically straightforward and also damage-free, preserving the integrity of your cabinets beneath the stickers.

SERVICES
Expert handyman & renovation services for homes, offices, and factories.
Contact
📞 Handyman Services: +65 8336 6682
✉️ Email: hello@handyman.sg | aaron@handyman.sg
About US: www.handyman.sg is proudly and exclusively owned and operated by Arctic Breeze Engineering. We maintain no affiliation with third-party listing platforms or independent 'Mr. Handyman' entities
Copyright © 2024 - 2026 Arctic Breeze Engineering| UEN: 53493028W | Terms of Use | Privacy Policy
www.handyman.sg
Owned and operated by:
Arctic Breeze Engineering
71 Woodlands Ave 10, #05-16 Woodlands Industrial Xchange, Singapore 737743
**Sister Company**
Reno Guys Pte Ltd
71 Woodlands Ave 10, #07-10 Woodlands Industrial Xchange, Singapore 737743
BUSINESS / FACTORY OFFICE ADDRESS
Contact
📞 Reno Guys / Office: +65 6993 8888
✉️ Email: aaron@renoguys.com.sg
🌐 Website: www.renoguys.com.sg